CLINIQUE Cheek Pop Review

Wednesday 21 December 2016


I feel like blushers don’t get enough credit. We just swirl our brushes into them for a good 20 seconds and make a whole mess before applying it onto our cheeks. Have you ever thought of thanking them for making you look less dead or maybe compliment them every now and then for the variety of looks you can achieve by changing the shade or even the placement of the blusher? I don’t think so because most of you take your cheek rouge for granted. And why is that? Is it because they’re not the “Windows to your soul” therefore, they don’t deserve a minute of your time like how you would go out of your way perfecting that annoying winged liner? Well guess what?

That’s completely up to you! Haha! I recently discovered the power of blushers. So this is me preaching like any new hardcore believer of something. Be prepared to hear me shove the idea of changing your entire look up with the assortment of shades of blushers available in the market or just by changing the placement of the blusher on your face, over and over again in this blog post. (Don’t say I didn’t warn ya!)

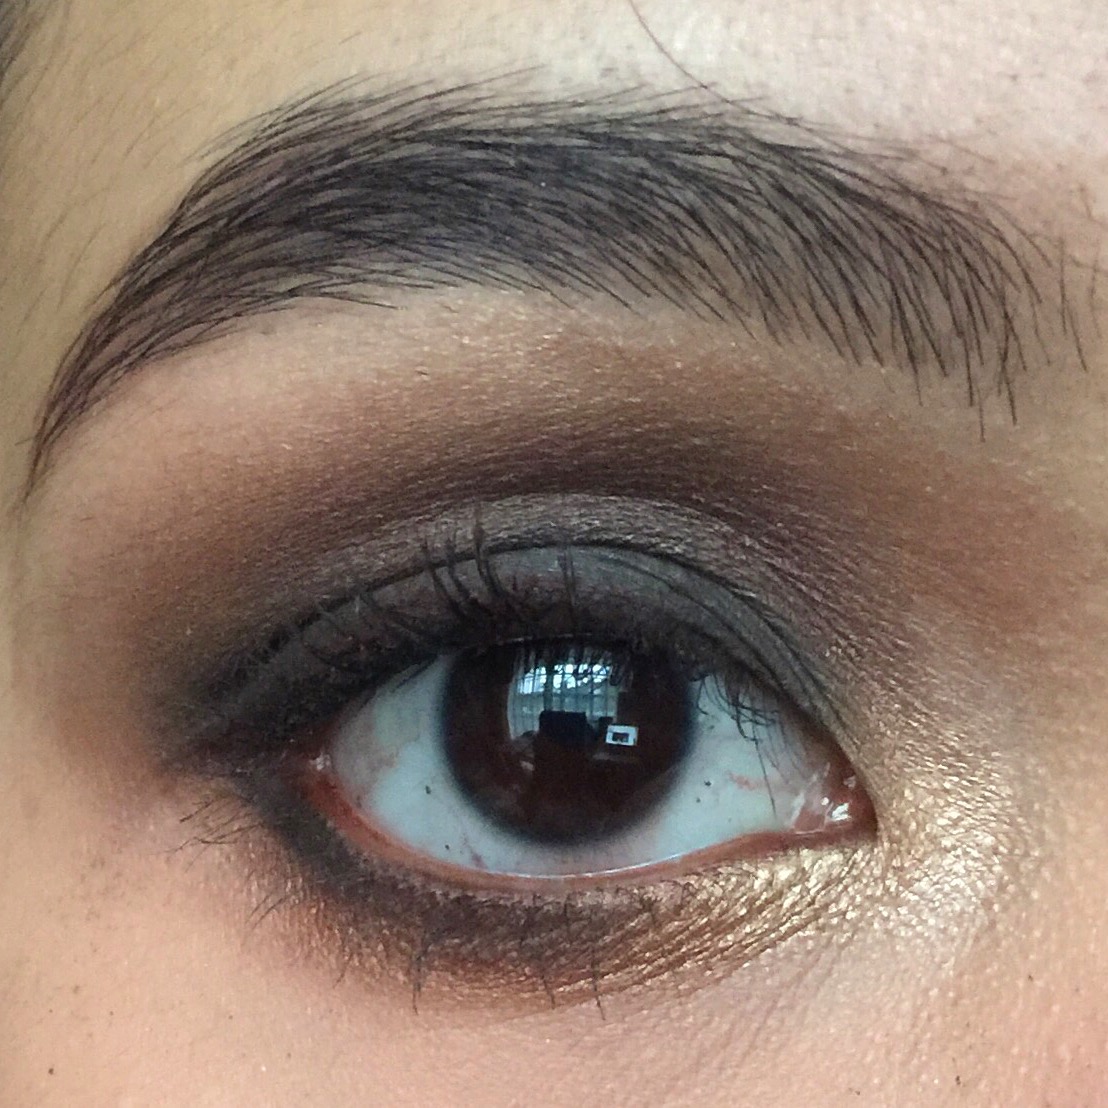
We often see people smoke up their eyes or vamp up their lips when going from a day to a date night look. If I had a life, I would do this too. And while this is completely optional, I also want to point out that I’ve seen some stranded raccoons and the ghost of Heath Ledger as Joker roaming around at night. What I’m trying to say here is that A LOT can go wrong when you’re trying to play up your eye or lip game. It’s risky! Lol not really, I’m just being annoying ✌️.

But a good alternative for beginners or lazy humans like myself, can amp up the cheek colour for a change. Depending on your agenda for the day, whether it is to look innocent (when you’re actually a promiscuous b!tch inside) or to trap a man (yes, I’m quoting Ali Wong because she’s god), a blusher can do all that. I’ll list some of my favourites as well as how I would use them for different scenarios.

08 Melon Pop

This is a satin peachy pink blusher that gives you the perfect flush without looking like you have much on, at least for my skin tone that is. The product itself is finely milled but nowhere near powdery, and this applies to the other two shades as well, which means that you can get great colour payoff without the fallout.

For that perfect "no-makeup makeup look" flush that boys love so much, this shade gives you a very natural punch of colour without scaring them away. Thus, making it the perfect blusher shade for a first date (because remember, you want to reel them in with innocence before you can show them your inner dragqueen).

03 Berry Pop

This is a satin hot pink blusher full stop. What you see in the pan is what you will get on the cheeks. The colour payoff for this blusher is a little scary but when used with a light hand, it is a great pick-me-up blusher shade that can make you look instantly fresh and awake.

I do have to say that this shade looks stunning on medium-to-darker skin tones on its own. But fret not my hot-pink-addict-albinos! You can warm your face up slightly with a touch bronzer and add this blusher shade on top for a smooth transition. I’ve also used this shade on my eyes; so if you would like to check that out, CLICK HERE to be redirected to that video.

15 Pansy Pop

I was a little hesitant to pop this shade on my cheeks when I first got it. It’s purple… But much to my surprise, this is actually a very friendly shade. And by friendly, I mean that it looks amazing on both fair and darker skin tones.


The shade leans more towards the cooler end of the spectrum, which I think is an interesting twist to the common bronzed-beach-bum look I myself am guilty of always going for. A cool pop of colour on the cheeks is a great way to make you look chic, especially when it’s paired with a clean makeup look (think Karima McKimmie from Shameless Fripperies).

These blushers are great to have in your makeup bag because they don't shatter easily. But with that in mind, please don't go throwing them on the ground on purpose just because I said that. I've been using them for close to 2 months now and I've hardly made a dent, so YEAYY for you cheapskates out there! A great value for money since you won't go through them so quickly. Thumbs up for Clinique for keeping us cheapeedees in mind when manufacturing these blushers!

Price point wise, I think it's reasonable for the amount and quality you're getting. Only RM83 a pop! This is turning into an infomercial really quick so I better stop now haha!

Your cheeks are a great place to start when planning your makeup look for the day or night. Give it a try the next time you're caking up for an event!

Till next time, babies!


Follow my blog with Bloglovin

How To Look Fresh Under 10 Minutes

Sunday 4 December 2016


Have you ever found yourself just staring blankly at your makeup stash early in the morning and don’t know what products to use to make you look less ugly? 7 foundations, 9 blushers, 27 eye shadows and 9 lipsticks just staring right back at you, just low-key judging your lack of willpower to say no to another nude eye shadow shade. Well, we all been through this, if you haven't, it’s coming for you when you least expect it.

These past few days have been hectic! 7AM call time all the way in Timbuktu for 4 days straight with 3 to 4 hours of sleep the night before. Getting ready in this state of being can be overwhelming sometimes. That's why I made sure that I have my makeup routine down to a science so that I can get out of the house in under 10 minutes.

To help you make your life easier, I want to share some of my tips and tricks that can get you out of the door looking like a million bucks in less than 10 minutes too!

TIP #1:

Make a 10-minute playlist and listen to it while you’re getting ready.  The goal here is to finish your makeup by the end of that playlist. I get a jolt of adrenaline when the last song on my playlist goes on. I pretty much go ham during the last 2 crucial minutes. Which brings me to my next tip.

TIP #2:

Keep your makeup simple. If you can get away without a winged liner, then skip the step and go for a simpler liner technique; e.g. tightlining or smudging. We’re trying to look like Kate Hudson doing her grocery shopping and not Kylie Jenner on the red carpet (because that's just physically impossible lah k sorry).

Know what makeup look suits you the best and simplify it to the very core. I've always admired how Koreans do their makeup. They have very minimal steps yet they always turn out looking so fresh. With that in mind, I took the essence of Korean makeup, which is to enhance a person's features rather than altering them, and made it into my own everyday makeup routine!

STEP 1

Conceal your under eye circles and the corners of your nose and lips.

STEP 2

Even out your skin with a tinted moisturizer/BB or CC cream/foundation depending on your skin’s severity.

STEP 3

Apply a brightening eye shadow all over the eyelids, tightline with a brown or black pencil eyeliner, curl your lashes and apply mascara.

STEP 4

Fill in only the sparse areas of your eyebrows with an eyebrow pencil that is slightly lighter than your natural hair colour.  This is to avoid any harsh-looking brows. Another plus point for this tip is that if you're not a Brow Picasso, any mistakes you make won't be too visible as compared to when you use a darker shade of eyebrow pencil. 

STEP 5

Bronze it up for dimension! The keyword here is to BRONZE and not to contour, therefore, a slight shimmer in your bronzer is ideal for achieving that glow-from-within look (although I think it's easier to just get knocked up but donor insemination is not an option here). 


STEP 6

Get rid of your chapped lips with a tinted lip balm or lip oil.


STEP 7

Take a selfie and post it up on Instagram with the hashtags #iwokeuplikethis #nomakeup .

TIP #3:

Have a designated box where you keep the things you ACTUALLY wear on a day-to-day basis. So those glitter eyeliners and rainbow-coloured pigments should not be in there. Unless you do wear those everyday, then you do you, girl.


I have a plastic box, nothing fancy or Tumblr-worthy. It’s just a practical clear plastic box I got from Muji that I put on the table facing the window for lighting purposes. This way you won’t look like your face was superimposed onto your body when you step out of your house.

The items you place in this box should be similar to the items you would bring to the gym for a quick touch-up after your workout. But have fun with it too because what you keep in there is not set in stone, so if you want to switch it up every once in a while, do just that. I know I personally would switch up my cheek product depending on how tipsy I want to look that week 😏 . 

And that is all I have for you this time! I hope it helps you or at least inspires you to come up with your own 10-minute makeup look. Product details will be listed down here too if you want to know some of my current makeup favourites.

Too Faced - Born This Way Naturally Radiant Concealer in Light Medium (RM134)
IT Cosmetics - Your Skin But Better CC+ Cream in Medium (RM165)
MAC Cosmetics- Eyeshadow in All That Glitters (Refill - RM55)
NARS - Eyeliner in Mambo ($23)
Shu Uemura - Maison Kitsuné for Shu Uemura eyelash curler
Maybelline - Lashionista Endless Length Obsession mascara
MAC Cosmetics - Veluxe Brow Liner in Deep Brunette (RM83)
Make Up For Ever - Pro Sculpting Duo in 02
Clinique - Pop Oil in Nectar Glow (RM83) http://bit.ly/2gXqe6T
Clinique - Sweet Pots Sugar Scrub & Lip Balm in Sweet Rose (RM88) http://bit.ly/2gSI2xb

See you again next week!


lah - A Malaysian/Singaporean slang to complement any sentence available in a social conversation 


NARS Yeux Irresistable Eye Shadow Palette Review

Sunday 27 November 2016

I do have a couple of NARS’ eye shadow palettes and while they are all great in terms of formula, I still find myself packing two to three palettes when I travel because I don’t have all the colours I (think I) need in one guy, oops, I meant one palette.


My mom came home one day with the NARS Yeux Irresistible Eye Shadow Palette that I have been meaning to buy ever since the leng chai who worked there showed it to me but hesitated because I'm a broke @$$ b!tch (my attempt on making this post as PG13 as possible). I was so happy partially because once you start earning your own money, you hardly receive any more gifts. I even asked her why… Clearly not used to kindness… Just picture a helpless wet cat being given food and warmth. I was that cat. And that palette was my food and warmth.

This palette retails for RM150 and it features 6 gorgeous shades that you can easily play up or play down, depending on your menstrual cycle. Sticking to my budak pemalas/buat-buat sibuk theme, this palette is something I would carry in my personal makeup bag so that I can switch my day look to a night look quickly before heading out the office (let's pretend I'm cool and that I have places to be). 


All About Eve II
Soft neutral beige [satin]. If UD's Virgin and Sin were to have a baby, it will probably look something like this. I would use this as a base colour or even on its own to create a polished look. Colour payoff wise, I would say that this is one of the weakest shades in the palette (but it could also be because it's a pale shade to begin with... I expect too much from life.).
                                           
Colombo: Pale gold peach [shimmer]. Similar to UD's Half Baked, I like to use this as an inner corner highlight because it has the right amount sheen to make you look wide-awake.

Jezebel: Reddish brown [satin]. Similar to the darker shade in NARS Duo Eye Shadow in Surabaya. This was the colour that drew me to this palette. If you're crazy about those Fall looks you've been seeing on your Instagram feed, then this is the colour for you. This shade looks like melted copper on the eyes and if worn alone on the lid and bottom lash line, will make you look so sultry, your mom wouldn't let you out of the house without a chastity belt.

Brousse I: Lavenderish taupe [satin]. The cool undertones in this shade provides a gorgeous contrast for my brown-eyed girls and boys out there. A softer alternative to the dark smokey eye.

Thunderball: Dusky teal [matte]. If you want to up your smokey-eye-game, then you would love this shade! It's dark enough to pass off as black but when you blend and smoke out the edges, you'll start seeing the eyeshadow transform into a cool blue shade. Pair this with a warm bronze eyeshadow and you'll look like a less miserable version of Taylor Momsen.

Coconut Grove: Espresso brown [matte]. Every palette needs a dark brown shade like this. It can be used to darken your whole eye look, as an eyeliner and also as a brow powder. 


Overall, the eyeshadows in this palette have great colour payoff (ooo YouTuber-vocab-diarrhea coming right up!) and little-to-no fallouts, which makes creating those dark smokey eye looks a breeze. I came up with a few combos myself. You can of course recreate these looks with other similar eyeshadows too. 

LOOK 1
Base colour - All About Eve II
Lid - Colombo
Inner corner - Colombo
Outer V - Coconut Grove
Bottom lash - Coconut Grove & Colombo

LOOK 2
Base colour - Jezebel
Lid - Coconut Grove
Inner corner - Colombo
Outer V - Coconut Grove
Bottom lash - Coconut Grove & Jezebel

LOOK 3
Base colour - Brousse I
Lid - Thunderball
Inner corner - Colombo
Outer V - Coconut Grove
Bottom lash - Coconut Grove & Brousse I

"No matter how you feel, get up, dress up, show up and never give up."
- Some quote I found on Google

Till next time!


Yeux Irresistible - Irresistible Eyes
leng chai - Handsome boy
budak pemalas - lazy kid
buat-buat sibuk - pretend to be busy


Follow my blog with Bloglovin

IT Cosmetics Your Skin But Better CC+ with SPF 50+ Review

Tuesday 22 November 2016

I find it almost impossible not to stop at an aisle in Sephora the second I see an array of flesh coloured fluids. Which is in almost every aisle. Which also means that I spend nothing less than an hour in Sephora. So guys out there, if we ever date, bring a stool with you. You've been warned!
  
I’m always in the market for something that I can use everyday rather than just on occasions. This means that I tend to look for something that I feel safe in, psychologically that is. Although there’s nothing wrong with rocking layers of foundation on a daily basis, I personally would feel like I’m suffocating my skin. So on a mental level, I’ll be telling myself “Win, that CC cream that claims to do a million and one shit for your face seems light and airy. Perfect for everyday use!”. And with that, TADAA! I brought the IT Cosmetics Your Skin But Better CC+ with SPF 50+ home with me!


PACKAGING
This CC cream is perfect for those of you who have to reapply your makeup a couple of times in a day for reasons like having to take your wudhu for prayers or changing your makeup for an event because you can’t afford a wardrobe change. It comes with a pump dispenser, so you can just chuck the bottle, or should I say tube, into your bag without having to worry that it will leak or spill. Although I do think that the pump dispenses a little more than what you actually need to cover your whole face. So like detonating a bomb, carefully press the pump halfway through to avoid wasting any product.

COLOUR RANGE
It comes in 5 different shades. Fair, Light, Medium, Tan and RichI got mine in Medium, although I do think a shade in between Light and Medium would have looked seamless on me since my neck and décolletage area is a tad fairer than my face. But even with it being slightly (and I mean SLIGHTLY) darker than the rest of my body, I think I can still get away with it without someone calling me out. 

COVERAGE
Half a pump is all I need to even out my skin tone. You can of course layer on this product to get a fuller coverage just like any other foundation/BB/CC cream. But I tend to go for a light to medium coverage, just enough to make me look like I'm a part of the human race. 


FINISH
This cream also dries down to a dewy finish but can easily be semi-mattified with a touch of loose or pressed powder, giving you the most natural finish ever! I enjoy a subtle glow on the high points of my face, a look that can easily be achieved by leaving those areas unpowdered. 

STAYING POWER
I've used this CC cream up to 5 hours and although the natural oils of your face will start to break through after the 3rd or 4th hour since you applied it, it's nothing a touch of powder can't handle. However, do bear in mind that this is a CC cream and not a foundation. The coverage will  start to wear off a little by the 5th hour but nothing too extreme. You'll probably morph into a pumpkin at the most... and everybody loves pumpkins! Especially in fall! But if you're in Malaysia, let's hope you have a great personality. 

MY TWO CENTS
I'm crazy about this CC cream by IT Cosmetics. I like to use this when opting for a more natural look, which is 97% of the time for me. The coverage is perfect for my simple everyday makeup routine. It takes less than 3 minutes to completely blend this product into your skin with a foundation brush, maybe 5 minutes if you're doing it with your fingers. 

Being a skincare-makeup hybrid, I don't feel so guilty slapping this on my skin everyday.  In fact, I feel like I'm giving my skin a little treat when I apply this cream to my face. It even has a faint citrusy scent that just perks me up in the morning!

Although I did read a review on Paula's Choice stating that citrus oils (lemon, lime, bergamot, orange and grapefruit - the source of the citrusy scent) are phototoxic, which means that it increases your skin's susceptibility to damage when exposed to light/UV light. I guess that is quite contradicting, especially when it claims to correct dark spots and provide sun protection. But I do believe that the developers of IT Cosmetics' products are experts who have done plenty of research before making this essential makeup must-have.

I have done my little research on the topic and found that citrus oils (or any other phototoxic ingredients) will only produce a phototoxic reaction 12 hours after application. This gives you plenty of time before your skin starts to melt off your face. Just kidding! Also, phototoxic oils are diluted to prevent any reactions to the skin, which I'm sure the people behind IT Cosmetics have figured out way before I found the article on it.

For more information on that --> Phototoxic Essential Oils

FINAL VERDICT
★★★★

Share your thoughts in the comment box below if you've tried this product!

Till then!

Keep your chin up! 

Follow my blog with Bloglovin